Steps to verify your Facebook Business Manager Account

Go to Facebook Business Manager Click here
This will open a new tab on your Facebook Business Account.
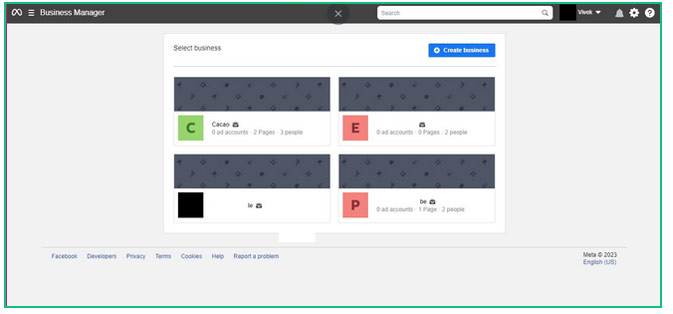
Choose or Create a Facebook Business Manager Account
If you have a business manager account, you can select the account through which you wish to receive your WhatsApp Business API. In case you don’t possess a Facebook Business Manager account, you can generate one by clicking here.
Note: Once you possess a single Facebook Business Manager account, your business settings will open automatically.

Go to Security Center
From Facebook Business Settings, choose the ‘Security Center’ Page.
Refer to the image on the right to know its location.
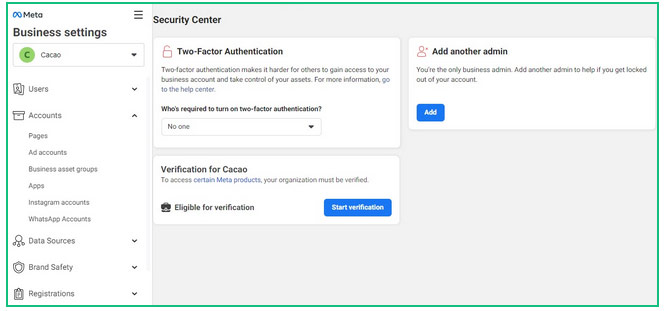
Click the ‘Start Verification’ Button
If the screen shows greyed/disabled ‘Start Verification’ button. You must follow these steps to enable it.
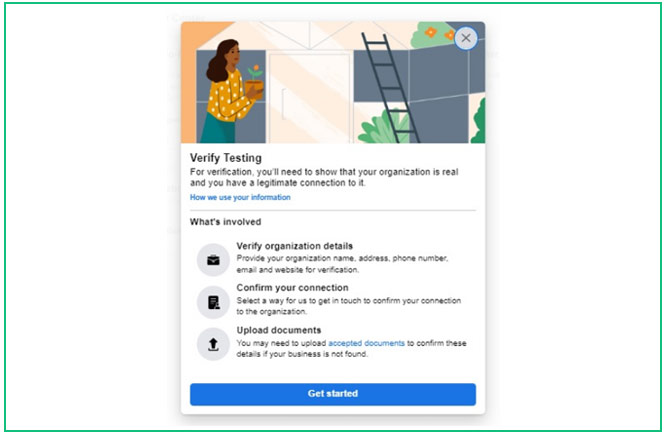
Click to Get Started
If the “Start Verification” button appears, click it & press ‘Get started’ on the next screen.

Choose Your Country
Select the country where your business is primarily based.
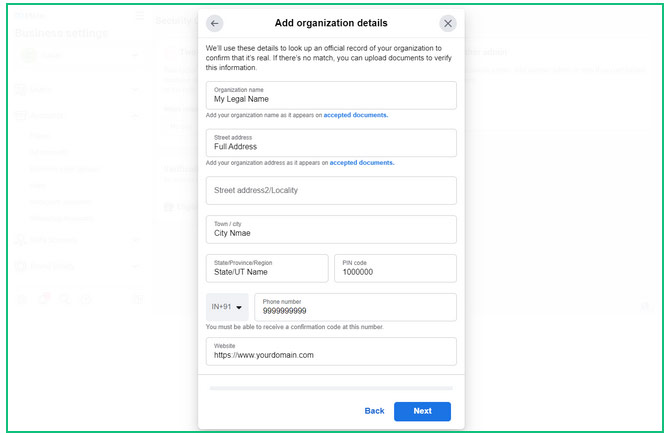
Fill Organization Details
Name: fill in the Exact Name mentioned in your legal document.
Address: Same Address as mentioned in your legal document.
Address row: Add only the location of your business and not the state & Pincode.
Add City & Pincode in respective sections.
Add any phone number (not necessarily your WhatsApp Business API number) to receive communication from Facebook.
URL to your website: This website should contain the business’s legal name at the footer so that Facebook verifies that this business is linked with the legal name.
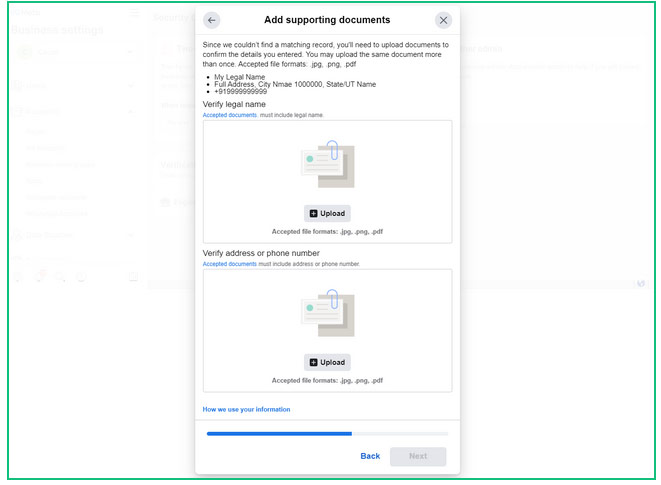
Add supporting Documents for your Business
If your business was not listed in the previous step, please provide supporting documents to verify your business. To prevent any confusion, please ensure that you upload the same document in both places.
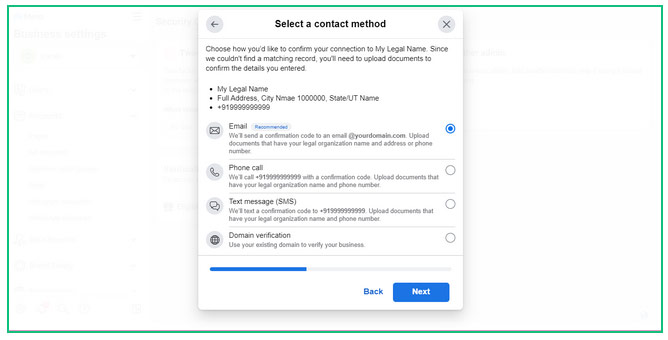
Choose a Contact Method
Add your official business email ID with your same domain name (e.g. aname@yourcompany.com) & press next.
If you haven’t registered an email address with your domain name, you can opt for phone or text verification instead.
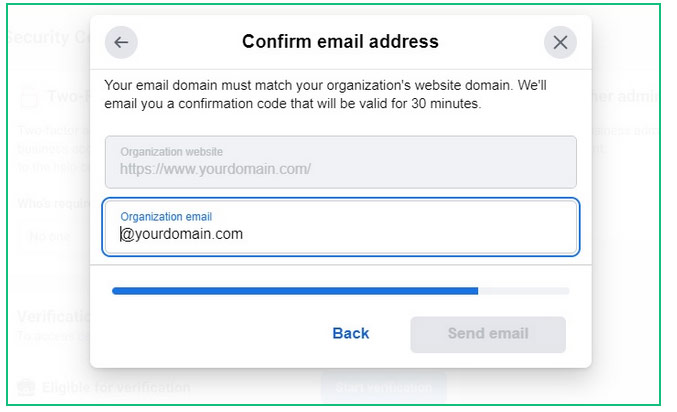
Fill business email address and receive a confirmation code
Verify the code sent to your Email ID or enter the OTP sent via text or phone.